Generate a workorder from an Outlook email
In addition to copying the email text into the generated workorder, you can also enter details in the fields of the workorder, select a specific unit owned by the client, and schedule users for this workorder all using just OLI.
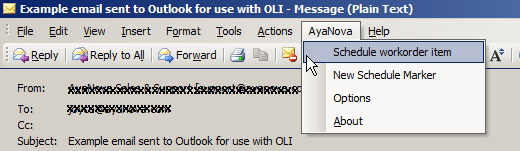
1. Open the Outlook email message
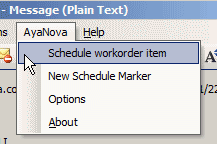
2. Select the email message menu AyaNova -> Schedule workorder item
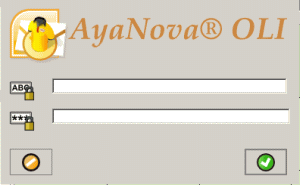
3. If you have not yet been asked to log in via OLI (as have not selected any other menu option since running this session of Outlook), than the OLI login window will appear.
Log in as an AyaNova user that is a member of a security group that has rights to create a Schedule Marker.
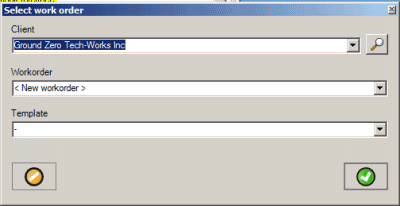
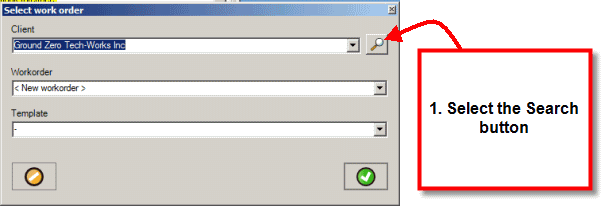
4. The Select Work Order window appears.
•Select the specific client the workorder is to be created for
•If a new workorder or added as a workorder item to an existing
•And whether to use an AyaNova Service Workorder template to enter pre-filled data for you.
•And then click the OK button ![]() to generate the Service Workorder
to generate the Service Workorder
Client:
OLI will search your existing AyaNova clients to see if the email address From: matches. If it does find a match, it will automatically have that client pre-selected for you.
You can of course select any other client.
Or check out the Search feature to find the client which will help save you time.
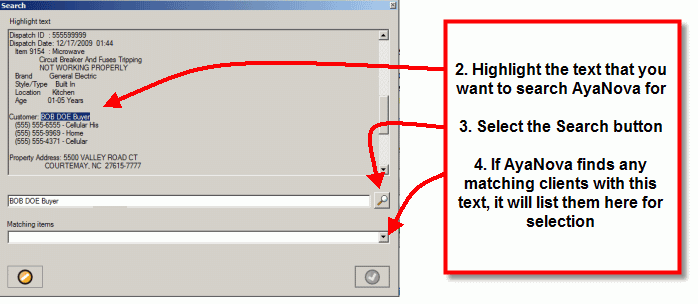
This is another reason why you may want to include the email message header, as it may contain information to help you search to find the correct client to assign this to.
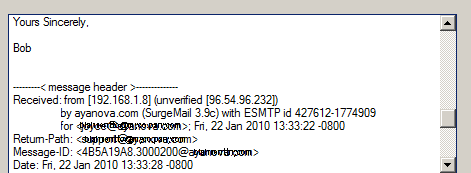
example of message header in Notes area.
Workorder:
Once you have selected the client, you can create either a new workorder or add to an existing open workorder.
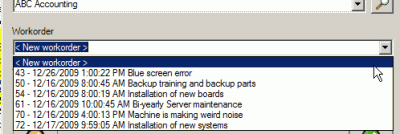
NOTE: If you select an existing workorder for this client, the existing Order header and Service Workorder header fields will automatically display with what is already in this workorder.
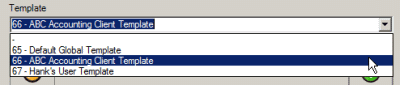
Template:
If you use service workorder templates to pre-enter information, select.
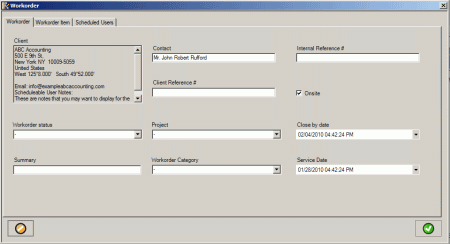
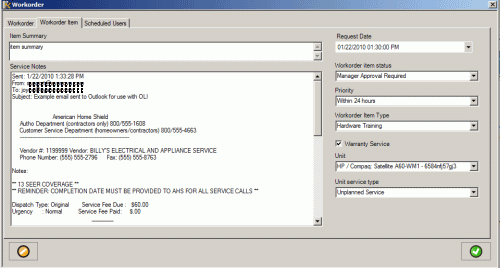
5. The OLI Workorder entry screen appears so that you can enter in any additional information as needed. Whatever you enter here will be in the workorder that is generated once you complete the steps.
Each field in the OLI Workorder entry screen corresponds to the same field in your AyaNova service workorder entry screen.
Workorder tab
In here you can edit the fields from the Order header and the Service Workorder header. How your OLI labels depends on if you are using a customized locale in AyaNova or not.
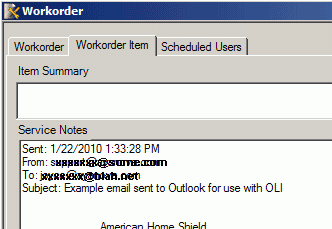
Workorder Item tab
Click the tab for Workorder Item to enter details specific for the workorder item including selecting service for a specific unit owned by this client already entered into AyaNova.
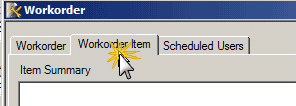
All of the text from the email is entered automatically for you into the Service Notes field. Edit as needed.
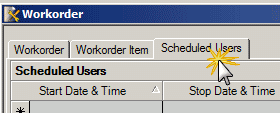
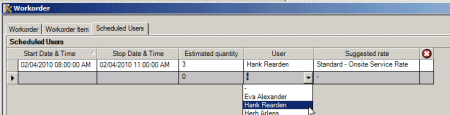
Scheduled Users tab
Click the tab for Scheduled Users to schedule one or more users to provide service directly at this stage of creating the workorder through OLI.
6. Generate the workorder from this email by selecting the OK button ![]()
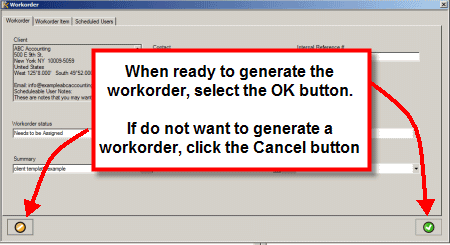
7. The workorder will be generated in your AyaNova with all of the data you entered.
Log into your AyaNova and see it.
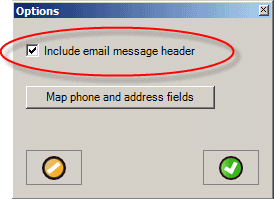
NOTE: If you want the email message header to also be inserted in the Service Notes field (it will be inserted after the email message), make sure that your Options for this is check-marked.
example of message header in Notes area.