Use the Localized Text Designer to create custom locales that have all labels in AyaNova display the text that works best for your needs.
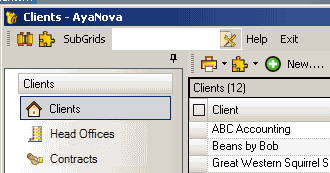
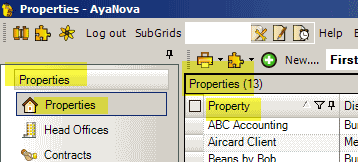
•For example, you may be in property management service and want what is labeled as Clients or Client throughout AyaNova to display as Properties or Property instead
Localization can be the process of changing text to display in another language or to change terminology to suit your unique business requirements.
Follow along with the two tutorials How do I create new cusotm locale using Localized Text Design? and How do I customize an existing locale on the fly?
For example, you may localize a text field to change what is presently displayed as “Unit” to display as “Bus” if your service organization only services buses for clients. Or your may even localize all text fields to a language other than English.
AyaNova includes four sample localizations with English as the default selected in each sample user entry screen. The sample locales are English, French, German and Spanish.
•The default English locale is not directly customizable. You must create a copy of an existing locale, and then edit that custom locale.
•If you would like to preview AyaNova using one of the additional three language locales, log in as one of the following sample users if you have not erased the sample data:
Username Password Uses Locale
german german Deutsch
spanish spanish Español
french french Français
Where selected:
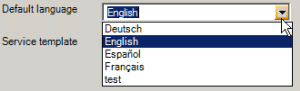
Select the locale in the User entry screen for the field Default Language
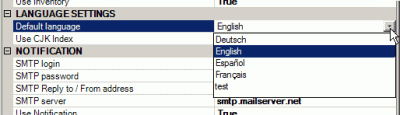
Select and edit the locale in Global Settings within the Administration navigation pane
NOTE:The locale selected in the user's entry screen overrides the locale selected in Global Settings.
NOTE: A change in locale does not take effect until the user has completely exited and then next logs in. This is because localized text for labels is loaded only when the user newly logs in.
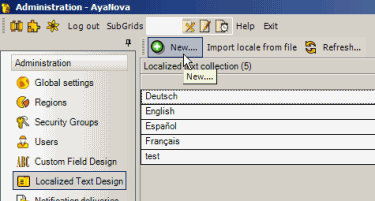
How to create a new locale:
1. In the Localized Text Designer grid, select the menu option New... which will open up the window where you select the Source and enter in the new Locale name
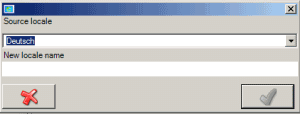
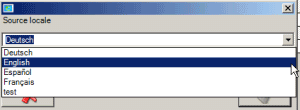
2. Select the existing locale you want to base your new locale on
3. Enter your new locale name, select OK (this can take a couple minutes as it is generated), and then edit the Standard Display Text as you want it to display.

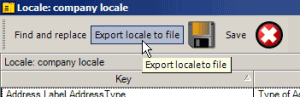
How to export a locale to a file for use by some one else's AyaNova database:
With the custom locale window displayed, select the menu option Export locale to file, enter file name and save.
How to import a locale from a file into your AyaNova database:
In the Localized Text Designer grid, select the menu option Import locale from file

See also:
How do I create new cusotm locale using Localized Text Design?
How do I customize an existing locale on the fly?
Security Group internal object: Object.LocalizedText |
NOTE: Only if the user is of User Type Administrator User will this user be able to view the Localized Text grid Forbidden: User of that security group can not access the Localized Text grid at all Read/Write/Delete: User can access the Localized Text grid, view and edit and delete |