In this tutorial example, we will go over the basic steps of putting your logo image into a report template.
•This is a very basic overview only, and does not cover every field and its use of the Report Template designer
•It is recommended that you review the Report Templates Help section before proceeding for an overview of the Report Designer.
•Of course, screenshots in any of these How do I...?'s tutorials may not be exactly as in your database as dependant on your data, grid layout, etc
•It is suggested that you open up the existing sample report templates that come with AyaNova to see how they are designed, as well as check out the answers to questions about report template design in the AyaNova Support Forum and additional sample report templates there that you can download, use as is or customize further
1.From the Schedule screen, open a scheduled service workorder item by double-clicking on it so that you are viewing its service workorder entry screen.
This way we are viewing an existing workorder that definitely is scheduled.
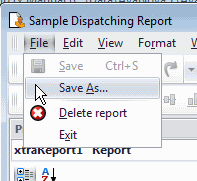
2.Now we want to open an existing report template in the Report Template Designer so that we can customize it.
Select the![]() Print menu option from the top of this workorder's entry screen, hold the SHIFT key on your keyboard, and select the Sample Dispatching Report report template.
Print menu option from the top of this workorder's entry screen, hold the SHIFT key on your keyboard, and select the Sample Dispatching Report report template.
Note that it may take longer the very first time a report is opened for editing or preview since AyaNova was started as certain elements are not loaded in memory until they are required. Subsequent loads will be faster.
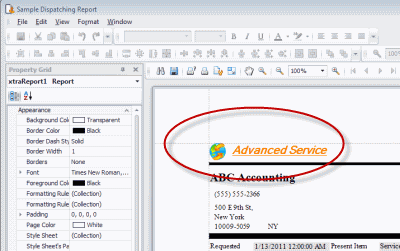
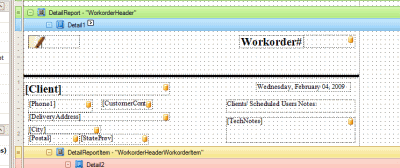
3.The internal report designer opens for this report template. Lets preview the existing report template before we begin
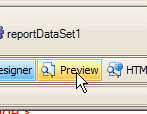
4.Click on the Preview link at the bottom of the design panel
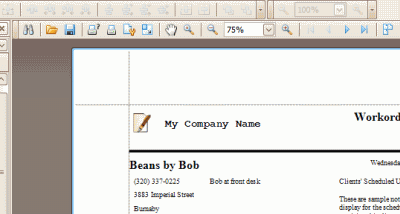
Note the sample company logo and name at the top
5.In this tutorial, we want to change the sample company logo and name to our own company logo and name. Remember, this is just an example to show you how to put your logo image into a report template - you will of course have a different logo image, or may be customizing a different report template, and may have your company name and logo combined in one image.
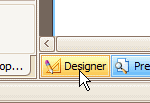
6.Select the Designer link at the bottom of the design panel to return to the design area of the internal report designer.
7.Although you do not have to make a copy to be able to customize an existing report template, it is recommended to do so if there is a problem with your customization, you can delete your customized report template and start again with a new copy.
8.Select the menu Report, and select Save As…
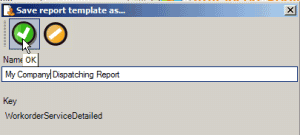
9.Prefix the report with your company name and select OK to use this name
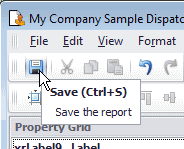
10. Don't forget to click on the Save button every so often while working in a report template, so that your changes are saved
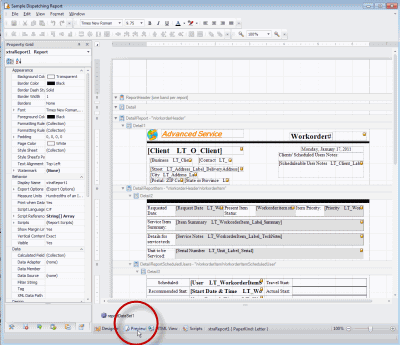
11.We will replace the existing logo with another image, and change the text for the company name.
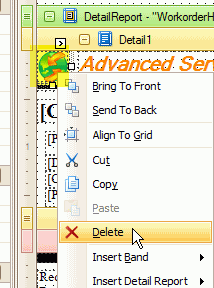
12. Remove the existing image and company name text
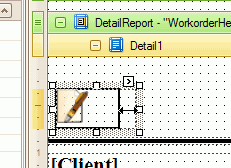
13. In the Design Panel, click on the existing logo image, right-click and select Delete
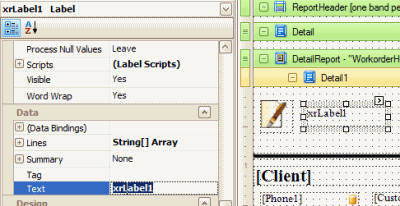
14.Click on the existing company name text and press the Delete key on your keyboard

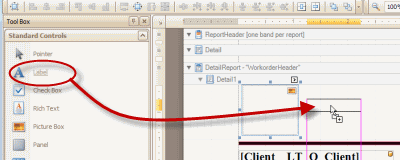
15.Select the Toolbox tab on the bottom left, select the PictureBox control and drag using your mouse onto the Design Panel
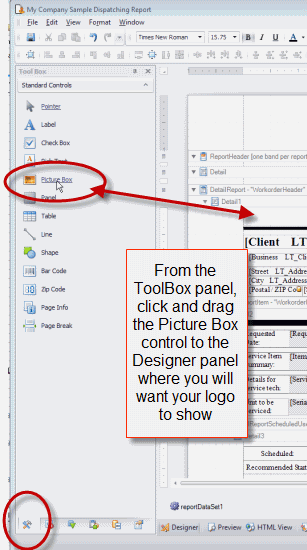
16.As you drag, your mouse turns into a ![]() symbol until you drop the control onto the design panel
symbol until you drop the control onto the design panel
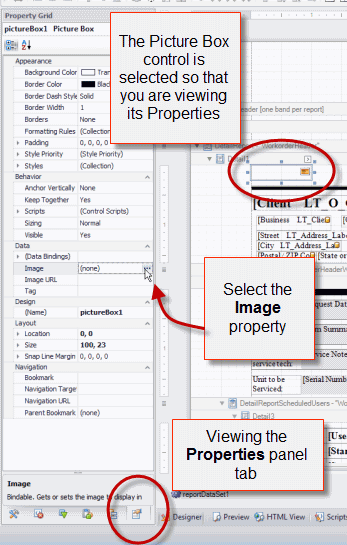
17.With that control you dragged over still selected, select the Properties panel tab, and select within the Image field to to open the window to select your image file you want to show on this report template.
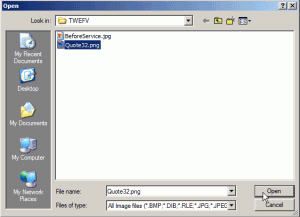
18.Move to the location of your image and select it. Click Open (do note of course that your selection will be different, as well as the location will be different)
It is recommended that before selecting the image file, that you already have it's dimensions sized to fit how you will want it on the report template via an image manipulation program.
For example, do not select an image file that is 1000 x 500 bytes, as it more then likely will also be quite large in MB size which can affect how fast your report will print. Instead, resize the image in a utility which will make it smaller in size in dimension as well as bytes.
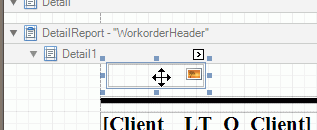
19.The image is now bound to the PictureBox control

20.You may need to edit the PictureBox size to match the size of the actual image you have bound it to.
You could also use the Sizing property in the Behaviour area to center, zoom, etc.
In the screenshot below we have moved all other fields down further in the Detail1 area so that our image shows properly and does not overlap other controls we wish to place here.
Easiest way to move a bunch of fields at once, is to use your mouse, the CTRL key and left click button to select all of the fields at once, and then use your arrow on your keyboard to move the fields down or up or sideways etc
21.You may also want to include text, or your image may already have text in the image. In this tutorial we will add the company name as actual text beside the image.
22. Select the ToolBox tab, select the Label control and drag onto the Design Panel and drop onto the location beside the image.
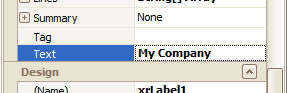
23.Select the Properties tab, with this label control still selecting, enter in the Text property field your company name. In our tutorial, we will enter in My Company Name
24. As in this tutorial we want this text to display in a different font, plus a larger size, we need to edit the properties of this label field.
25.Select the browser button for the Font property field for this selected label control to open up the Font properties
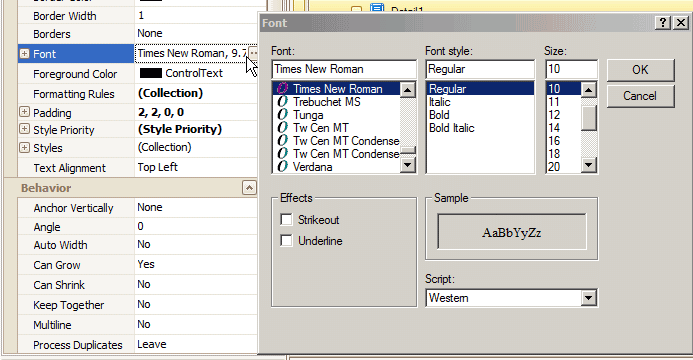
26.Change the font such as to Courier New, Bold and size 14, and select OK
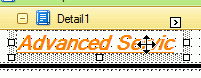
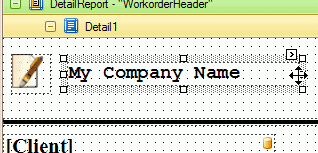
27.If you view the label control, you will note that some of the text is cut off. Resize the label control to display all the text by hovering your mouse over the left side and click and drag
28.Select Preview link from the bottom of the Design Panel so you can see what this looks like on an actual report.
29. Make any additional changes to sizing, location, etc and Previewing so you can see what the result is before saving.
30. Don't forget to click on the Save button every so often while working in a report template, so that your changes are saved
31. Your custom report template is now selectable from the Service Workorders grid, and from within a service workorder entry screen.