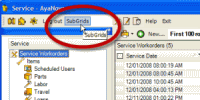
Subgrid tables
•are those listed under the main AyaNova menu option SubGrids where you access Rates, Dispatch Zones etc.
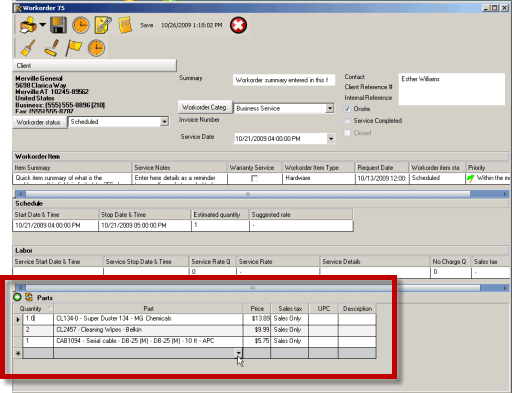
•are also those subgrids within an entry screen such as the Parts subsection of a workorder
•are also accessible from jump buttons within entry screens

To add new data into a subgrid table:
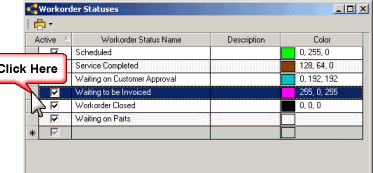
Click your mouse cursor in any of the columns in the grayed row.

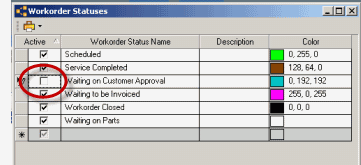
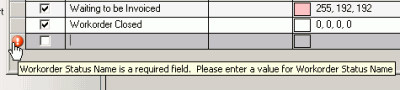
This begins a new row that you can enter data in. You may also note the red exclamation mark which reminds you of required fields – in the screen shot below, Name is a required field so that the Dispatch Zone can be selected within entry screens.
As soon as you begin typing, it does so in a new row.
To edit an existing row of data
just place your mouse in the column field that you want to edit and do so.
Two ways to delete an existing row of data
1. Select the Delete row option
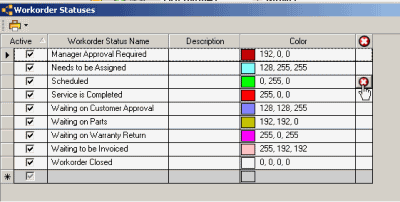
2. Click your mouse on the row header which will highlight the entire row then press the Delete button on your keyboard.
If the row of data has been linked elsewhere in the database, you may not be able to delete that record.
Do note that some grid tables, once a row is entered, cannot be deleted even if it appears to have not yet been selected elsewhere – such as Tax Codes, Part Warehouses. If you do not want this item selected, uncheck the Active field for that item.
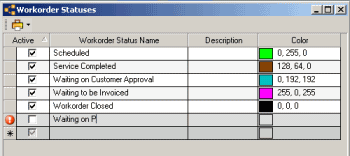
To set an existing row of data to inactive
Just uncheck the Active field for that record row, and exit out of the subgrid to save.
The screenshot below shows that the Dispatch Zone Sudbury South is inactive, and as a result will not be displayed in an selection lists elsewhere in AyaNova.