This tutorial will go through how to create a new security group to limit access to features for users that are a member of that security group
•It is highly recommended that you review this Help file's entire section on Security Groups and Users for complete overview , suggestions on use, tips on use and more.
Steps to create a new security group
1. Log into AyaNova as the AyaNova Administrator or a user that is of user type AyaNova Administrator (such as the test user if using the sample data)
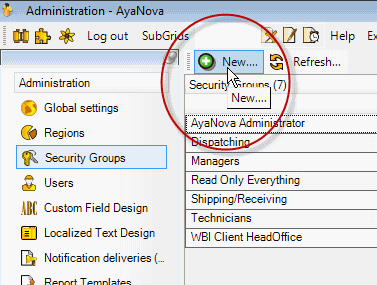
2. Select the Administration navigation pane, and view the Security Groups grid
3. Create a New.. security group
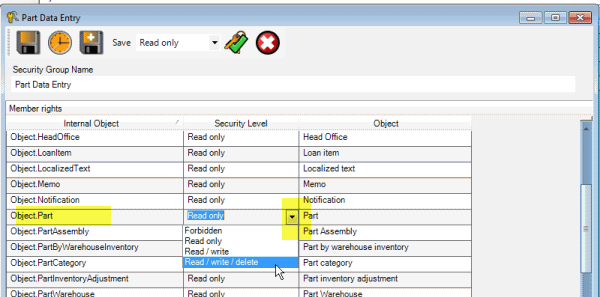
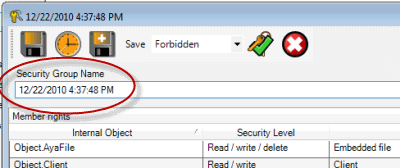
4. The new security group entry screen opens with all objects initially set to Forbidden
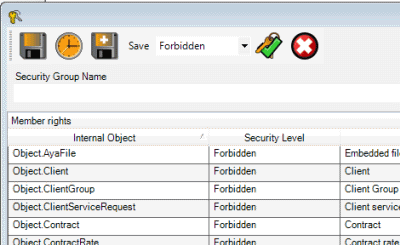
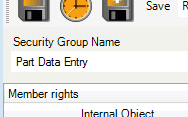
5. Enter in the name you want this security group set to ( name it so it is easy to select in a user entry screen)
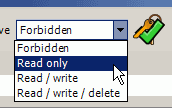
6. If you want all objects or the majority of objects set to a certain right such as Read Only, use the menu option Set all Security Levels to selected Level to automatically set this by drop down the list, select the right and than click on the menu option ![]()
7. The section Security Group objects identified identifies what each Object listed sets rights for - so if not sure, do check that out.
In this example we want users of this security group to be able to view most everything, but only be able to actually enter in new parts.
So we find the Object.Part and set it to Read/Write/Delete (so the user can also delete if needed)
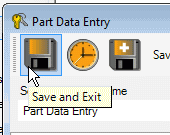
8. Save the security group. If the security group you have just created does not yet show in the Security Group grid, select Refresh ![]() to display the latest.
to display the latest.
9. In the user's entry screen, select this security group.
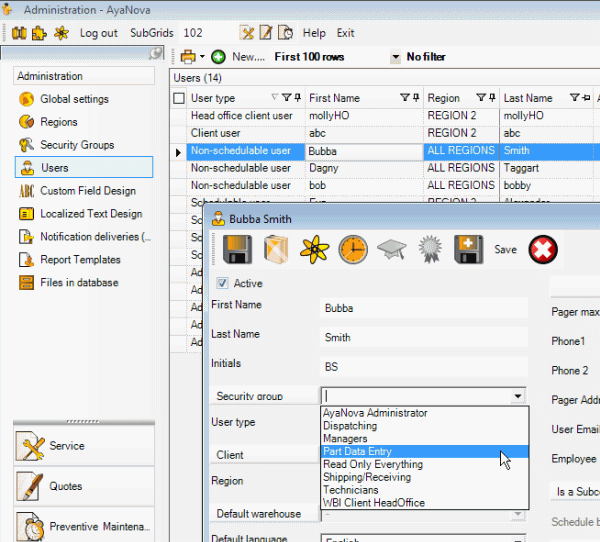
10. Now the next time that user logs in, this security group's rights will take effect.
If instead, you have an existing security group that you want to make a copy of because it has only a few Objects that need to be set to a different right, you can open that group and select the Duplicate menu option
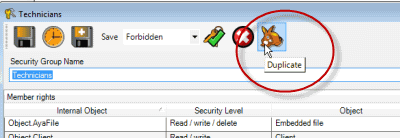
A new security group entry screen is opened for you with the Name showing today's date and time, which you edit with the Name you want this new security group to be set to.
Edit the rights of the Internal Objects needed, save and than set for the users needed.