A Follow Up is actually a Schedule Marker with the additional feature of providing a jump button to open the specific workorder (or client) that the Follow Up is referring to.
•Just like a Schedule Marker, the Follow Up will display on the graphical Schedule screen as a reminder to you.
•A service workorder (or client) can have as many Follow Up's as desired, you are not limited to just one.
•A Follow Up can be created at any time during the life of a service workorder - it can even be created when the service workorder is check-marked Closed.
•An example of Follow Up use, is that you want your schedulable user to be reminded to contact a client at a certain date after work has been performed to confirm all work is still satisfactory and to see if there is additional service that may be needed to be performed. This is a way to confirm that your customers are happy attracting more business.
In this tutorial we will go over creating a Follow Up for a specific workorder
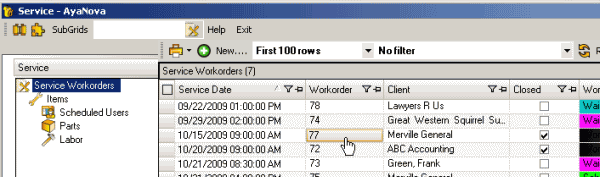
1. Open an existing Closed sample workorder ( do note that you can create a Follow Up for an open workorder as well as for a Closed workorder - this is just an example)
See also:
Moving and sorting columns in a grid
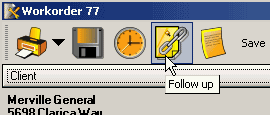
2. Select the workorder menu option Follow up ![]() which will open up the Follow Up selection window for this workorder.
which will open up the Follow Up selection window for this workorder.
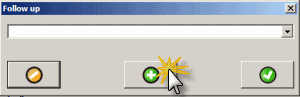
If there are no existing Follow Up's for this workorder, nothing will show in the selection by default. If there was one or more Follow Up's for this workorder, the first Follow Up by alphabetical order based on the name will display by default.
3. Click on the ![]() to create a new Follow Up for this workorder
to create a new Follow Up for this workorder
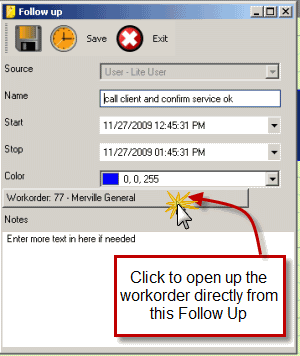
5. The Follow Up creation window displays - note looks just the same as a Schedule Marker
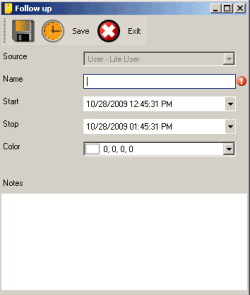
6. Enter in the Name field a descriptive name for what this Follow Up is about
7. The Start defaults to today's date and time, and the Stop to an hour later.
•Edit so that the Start date is a two weeks from now
•Edit so that the Stop is also two weeks from now
•(make a note to yourself the date you enter so that we can review it on the Schedule screen later). See also: Date & Time Selection
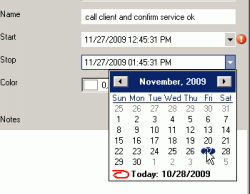
8. Select a Color if desired which borders the Follow Up when viewing on the Schedule screen
9. Enter in additional Notes as needed
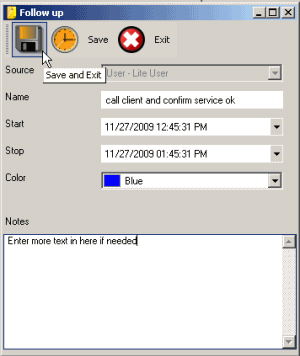
10. Select Save & Exit ![]() to return to the Follow Up selection window
to return to the Follow Up selection window
11. If you want to view the Follow Up from this window, select it from the list of Follow Ups for this workorder and click on the ![]() to open it.
to open it.
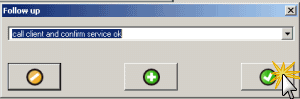
12. To exit out of the selection window back to the workorder, select ![]() or the X in the upper right-hand corner
or the X in the upper right-hand corner 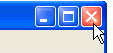
13. Now lets exit out of this workorder, and view the Follow Up on the Schedule screen
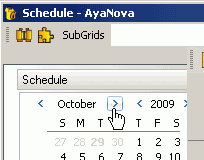
14. On the Schedule screen, view the date of the Follow Up that you made for the schedulable user you selected using the Date Navigator on the Schedule screen to be able to select the date.
See the Follow Up - it looks just like a Schedule Marker as that is what it is, just available for creation from a workorder as well as providing a jump button to open the workorder.
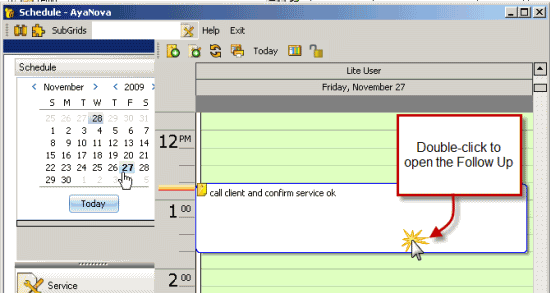
15. Double-click on it to open
16. Note how the Follow Up as a jump button that if you click on will open the workorder it was created from.
NOTE: Notification subscriptions via email or pager when a Follow Up or Schedule Marker are imminent is not a feature of AyaNovaLite. Refer to the full AyaNova for such a feature.